
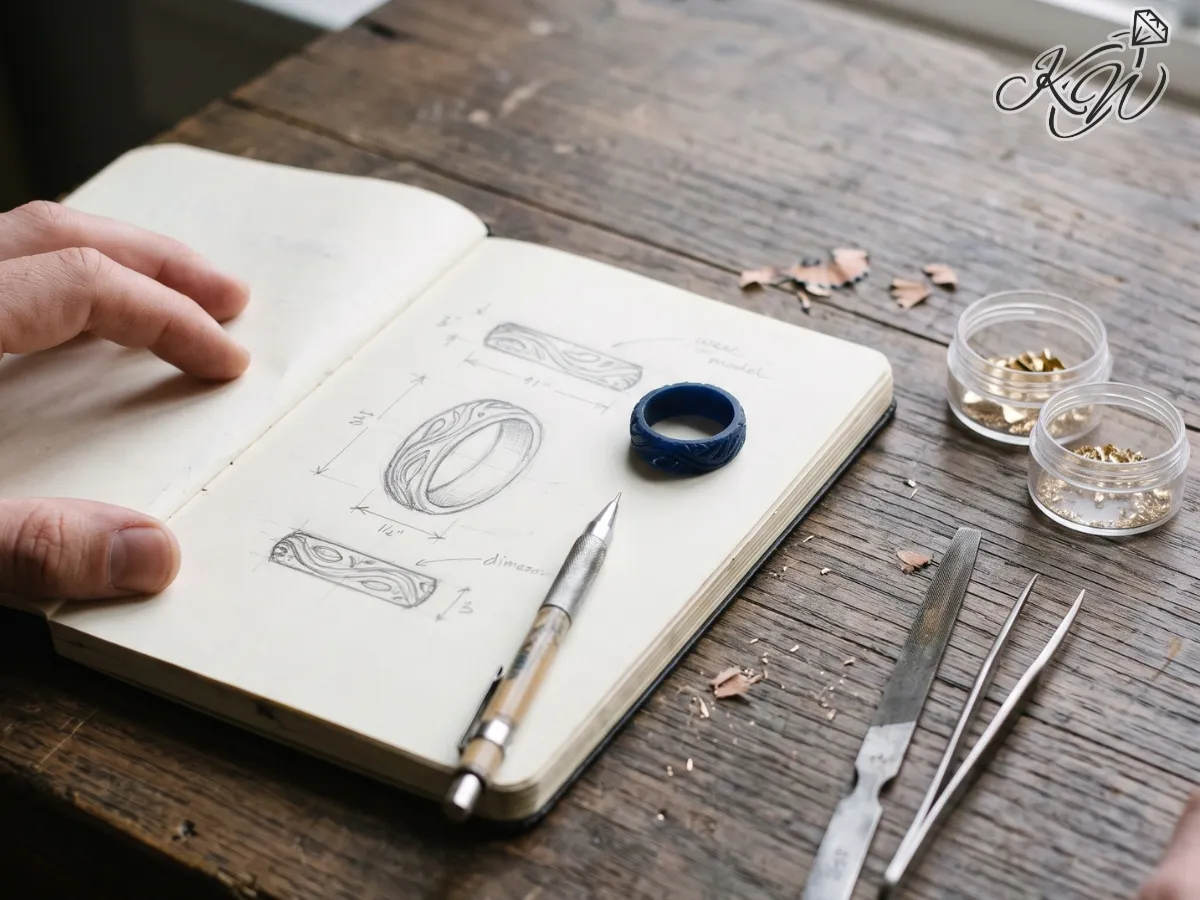
Your wedding band is something you will wear every single day. While jewelry cases are full of beautiful choices, standard rings do not always match your personal style or fit flush against your engagement ring. Choosing a custom design gives you total control over how your piece looks, feels, and fits your budget.
At Ken Walker Jewelers, creating a personalized ring is a fun, stress-free journey. You do not need to be a jewelry expert to get started. You only need an idea and an open mind. This guide walks you through each step of making your dream ring, from the first sketch to the final polish.
Key Takeaways
- Custom bands allow you to match difficult engagement ring shapes perfectly.
- The process includes idea sharing, 3D computer models, wax previews, and casting.
- You can choose between mined diamonds, lab-grown stones, or budget-friendly moissanite.
- Heirloom jewelry can be redesigned into new, meaningful pieces.
- Most custom projects take between three to six weeks to complete.
Why Choose a Custom Wedding Band?
Many couples assume custom jewelry is only for high budgets. In reality, creating a one-of-a-kind ring is often about getting the exact features you want without paying for brand-name markups.
Here are the main reasons couples choose this path:
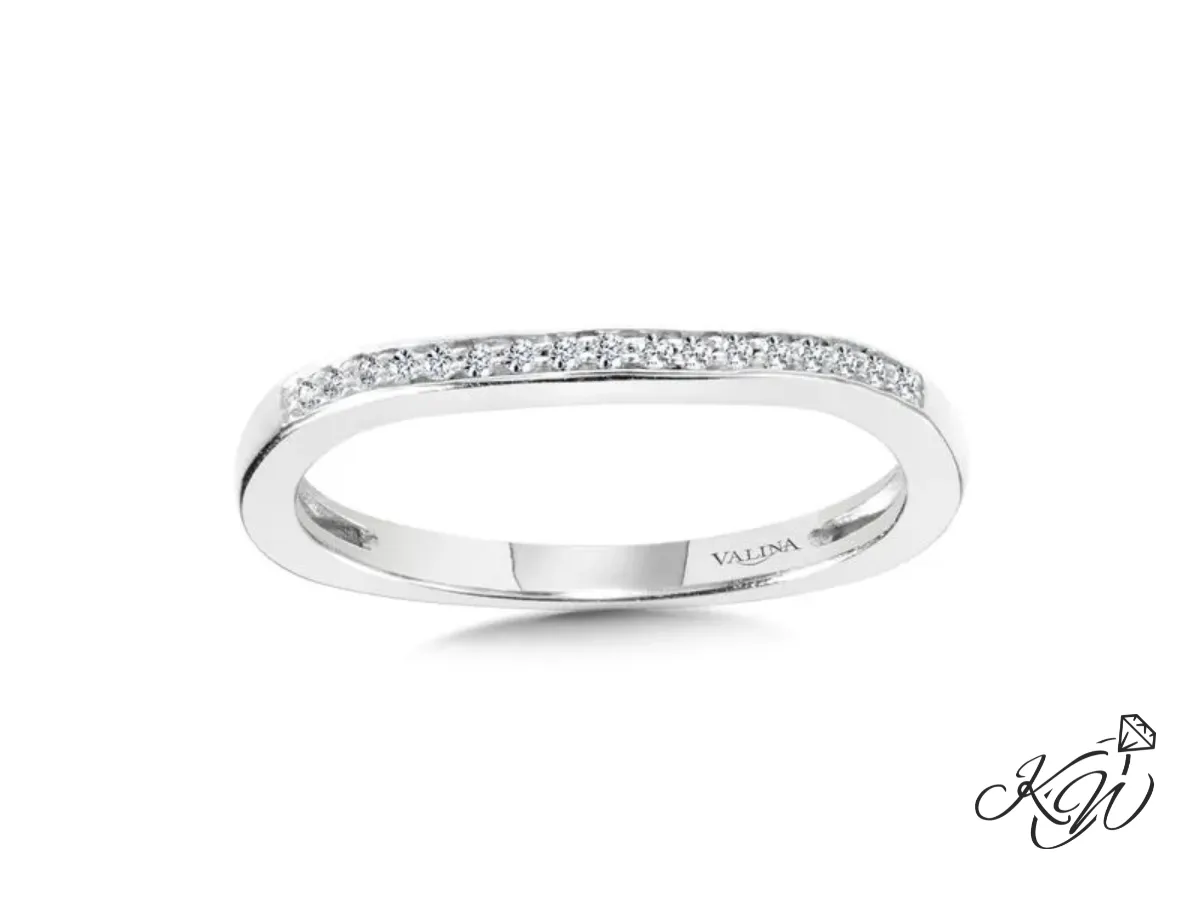
- A Perfect Fit: If your engagement ring has a low setting or an unusual shape, a standard band will leave an awkward gap. A custom band curves around your center stone smoothly.
- Budget Control: You pick the metal type, ring width, and stones. You can use lab-grown diamonds or moissanite to keep prices comfortable.
- Sentimental Value: You can include family diamonds or use gold from a relative's old jewelry to honor your family history.
- Unique Style: You get a ring that nobody else has. You can add vintage engraving, mixed metal colors, or hidden birthstones.
Step 1: Gathering Ideas and Initial Consultation
Every project starts with a conversation. You meet with a friendly jewelry professional to talk about your vision. You do not need finished blueprints. Simple screenshots or rough descriptions are plenty to get started.
What to Bring to Your First Meeting
To help your jeweler understand your style, bring a few basic items:
- Your engagement ring (if you are matching a band to it).
- Pictures of ring styles you like from Pinterest, social media, or magazines.
- A list of features you dislike (knowing what you do not want is just as helpful).
- Your target budget.
- Your wedding date or deadline.
During this visit, your jeweler will look at the height and contour of your engagement ring. They will measure your finger size accurately. They will also ask about your lifestyle. If you work with your hands or lead an active life, they will suggest durable metal profiles and protective stone settings.
Pro Tip: Be honest about your budget right from the start. A good jeweler will show you options that fit your financial goals without pressure.
Step 2: Selecting Metals and Gemstones
Once you agree on a general shape, you choose the building blocks of your piece: the metal and the stones.
Choosing Your Metal
Different precious metals offer different balances of strength, color, and maintenance needs.
|
Metal Type |
Durability |
Color Profile |
Maintenance Level |
Price Point |
|
14k Yellow Gold |
High |
Warm, classic yellow |
Low (periodic cleaning) |
Moderate |
|
14k White Gold |
High |
Bright, cool silver-white |
Medium (rhodium plating every few years) |
Moderate |
|
14k Rose Gold |
Very High |
Romantic, pink-copper hue |
Low (periodic cleaning) |
Moderate |
|
Platinum |
Extremely High |
Naturally bright white |
Low (develops a soft patina over time) |
Higher |
|
Sterling Silver |
Moderate |
Soft white |
High (regular polishing needed to avoid tarnish) |
Budget-friendly |
Selecting Your Stones
You have total freedom over the stones that go into your piece. You can keep the band clean and simple with plain metal, or add sparkle:
- Natural Diamonds: Traditional stones formed deep inside the earth over billions of years.
- Lab-Grown Diamonds: Real diamonds with the exact same chemical and optical traits as mined diamonds, but available at a lower price point.
- Moissanite: A durable, brilliant mineral that offers incredible sparkle at an accessible cost.
- Colored Gemstones: Sapphires, rubies, or emeralds that add personal meaning and pops of color.
- Heirloom Stones: Gemstones taken from older family rings or pendants, giving old treasures new life.
Step 3: Sketches and 3D CAD Modeling
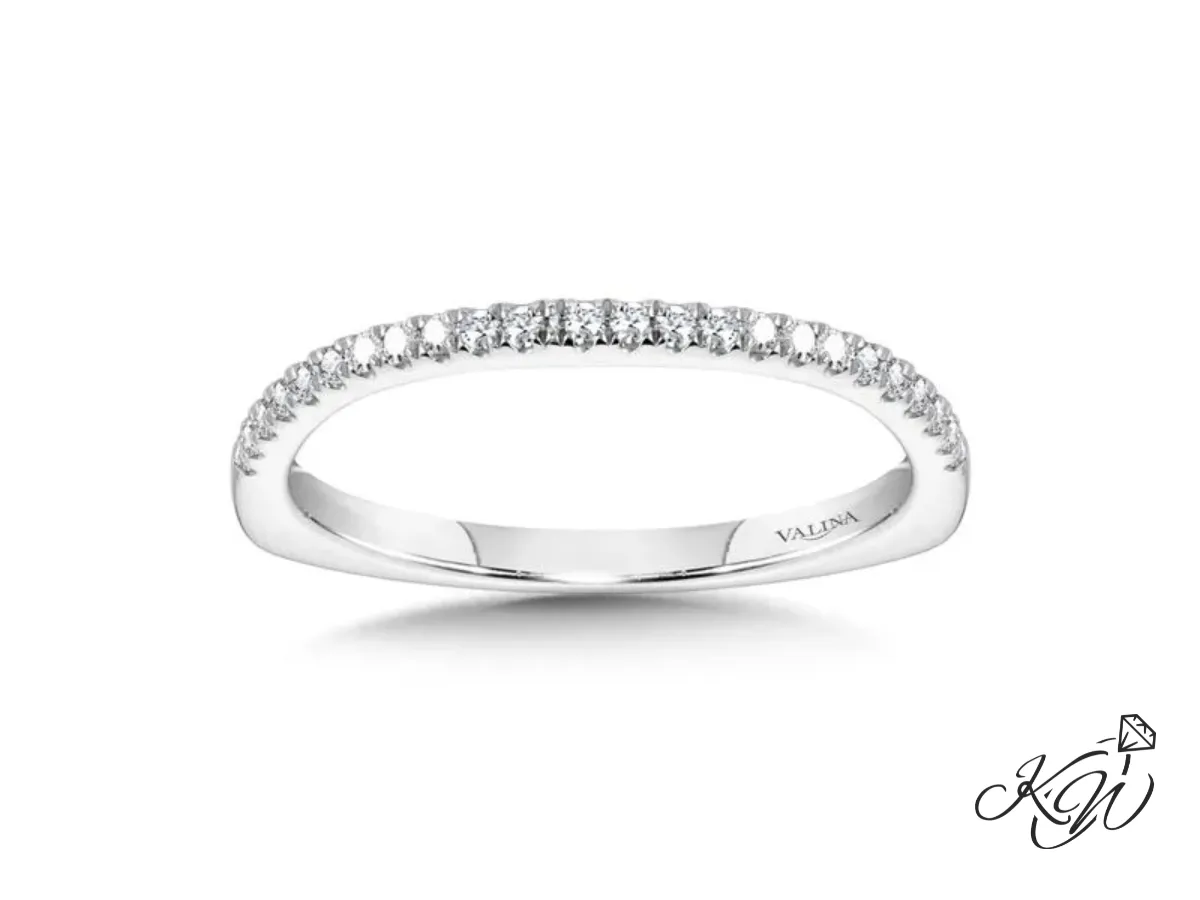
After you pick your materials, your ideas become a digital model. Jewelers use Computer-Aided Design (CAD) software to build your ring on a computer screen.
What CAD Allows You to See
- Exact Proportions: You see how wide and thick the ring will be on your finger.
- Stone Layout: You see how accent gems will line up across the band.
- The Fit Against Your Ring: The software shows how the new band aligns with your engagement ring from every angle.
This step gives you total peace of mind. You do not have to guess how the final piece will look. If you want the band a little thinner, or if you want to change the stone spacing, adjustments can be made with a few clicks before any metal is melted.
Key Insight: Do not hesitate to ask for adjustments during the digital modeling stage. Making changes on a computer screen is quick and easy.
Step 4: Wax Models and Physical Approvals
Seeing a 3D picture on a screen is great, but holding something in your hand is even better. Once you approve the digital design, the CAD file goes to a high-resolution 3D printer or milling machine.
This machine produces a full-scale wax or resin model of your ring.
Why the Wax Model Matters
- Try-On Experience: You can slip the wax model onto your finger to feel its width and profile.
- Flush Check: You can place the wax model next to your engagement ring to confirm that they sit together neatly without gaps.
- Height Verification: You can make sure the band does not sit too tall or rub uncomfortably against your neighboring fingers.
Once you try on the wax and give your final approval, the hands-on metalwork begins.
Step 5: Casting, Setting, and Hand Finishing
Now, your concept turns into real jewelry. This stage relies on classic bench jeweler skills combined with modern tools.
The Lost-Wax Casting Method
- Making the Mold: The wax model is attached to a base inside a metal cylinder called a flask.
- Pouring the Investment: A plaster-like material is poured around the wax model and allowed to harden.
- Burnout: The flask is placed into a hot oven. The heat burns away the wax completely, leaving an empty hollow space inside the plaster that matches your ring shape.
- Pouring the Metal: Molten gold or platinum is poured into this hollow space using centrifugal force or vacuum pressure.
- Quenching: The flask is placed in water to break away the plaster mold, revealing the raw metal ring.
[Wax Model] -> [Plaster Mold] -> [Burnout Oven] -> [Molten Metal] -> [Raw Ring]
Bench Work and Finishing
After casting, the raw metal piece is rough and dull. A goldsmith takes over to finish the ring by hand:
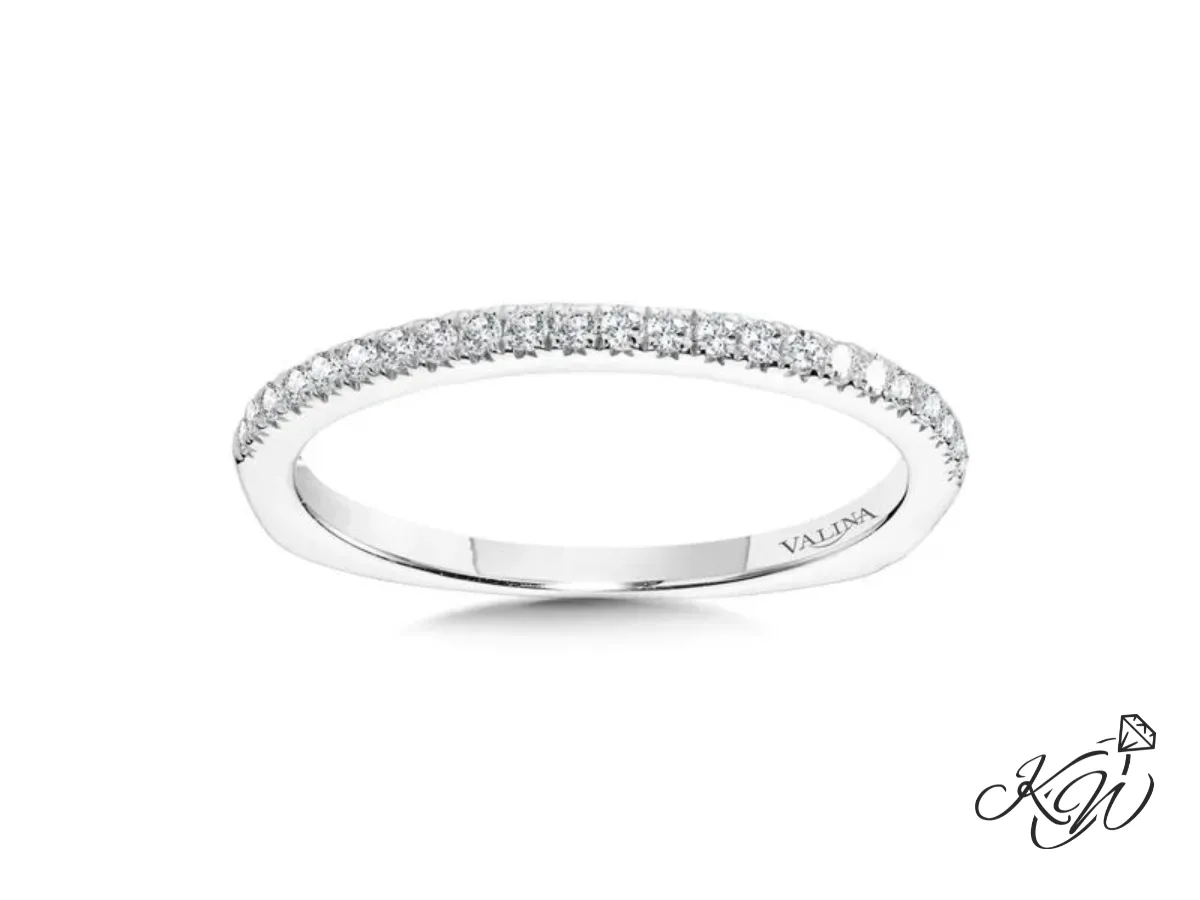
- Filing and Sanding: The bench jeweler files away rough spots and smooths the inner and outer surfaces.
- Stone Setting: Each diamond or gemstone is set into place under a microscope, using small prongs, bezels, or channels.
- Engraving: If you requested a special date, initials, or a phrase inside the band, it is added now.
- Polishing: The ring goes through wheels and polishing compounds to produce a clean shine, matte satin finish, or textured look.
How to Plan Your Timeline and Budget
Planning ahead helps you avoid rush fees and wedding-week stress.
|
Phase |
Description |
Estimated Time |
|
Phase 1: Consultation |
Meet, share ideas, pick metals and stones |
1 to 3 days |
|
Phase 2: Digital CAD Design |
Create 3D computer model and review renders |
1 to 2 weeks |
|
Phase 3: Wax Model Review |
Print resin model and try it on for fit |
3 to 5 days |
|
Phase 4: Casting and Setting |
Cast metal, set stones, file, and polish |
1 to 2 weeks |
|
Phase 5: Final Inspection |
Quality checks, cleaning, and customer pick-up |
1 to 2 days |
In total, you should allow four to six weeks for the full process. If you have an urgent date, let your jeweler know early so they can check their bench schedule.
Tips to Keep Costs Budget-Friendly
- Mix Your Metals: If platinum is outside your comfort zone, 14k white gold gives you the same look for less money.
- Consider Alternative Stones: Moissanite or lab-grown diamonds allow you to get extra sparkle while keeping costs down.
- Repurpose Family Gold: Some shops can credit your scrap gold toward your final balance or use your family stones to save on material costs.
- Keep Width in Mind: A slightly narrower band uses less metal weight, lowering the raw material price.
Frequently Asked Questions
How long does the custom band process take?
Most custom projects take between three to six weeks from your first consultation to final delivery. Complex rings with rare gems or detailed hand engraving may take a bit longer. It is always best to start shopping two to three months before your wedding date.
Is a custom ring much more expensive than a case ring?
Not necessarily. When you buy a mass-produced ring from a chain store, you pay for heavy marketing, shipping, and middleman markups. With a custom piece made by a family-owned jeweler, you pay for the actual metal, stones, and labor. You can adjust the design elements to match your exact budget.
Can I use diamonds from my grandmother's old ring?
Yes. Repurposing family jewelry is one of the most rewarding ways to build a new band. Your jeweler can carefully remove stones from older rings, pendants, or brooches, check them for safety, and set them into your new band.
What happens if my custom ring does not fit?
Before casting, you will try on a wax model to check the size. If the finished metal ring still feels too snug or too loose after your wedding day, standard bands made from gold or platinum can be adjusted by your bench jeweler.
Can I match an unusually shaped engagement ring?
Yes. This is one of the biggest benefits of personalized design. Your jeweler will measure the exact curves, dips, and stone heights of your engagement ring to build a band that sits flush without gaps.
Conclusion
Your wedding band is a long-lasting symbol of your shared commitments and milestones. Choosing a personalized path lets you create an item that feels natural on your hand, fits your budget, and tells your story. With clear steps, 3D technology, and hands-on guidance from a caring jeweler, creating your ring is a simple and memorable experience.
Ready to Create Your Ring?
Visit Ken Walker Jewelers to start your personalized jewelry journey. Our friendly, experienced team is here to guide you through every choice with honest advice, fair prices, and zero pressure. Stop by our showroom or get in touch today to schedule your consultation.